At some point, every dentist reaches the same moment.
You see beautifully documented cases online — crisp intraoral shots, flawless veneer transformations, perfectly lit smile portraits — and you think:
“I need to start taking proper photos.”
Then the overwhelm hits.
- DSLR or mirrorless?
- 90mm or 100mm macro lens?
- Ring flash or twin flash?
- What if I spend $8000AUD – $12,000AUD (£4,000–£6,000) and get it wrong?
For most dentists, this question isn’t really about cameras.
It’s about confidence.
You don’t want inconsistent results.
You don’t want to look amateur.
And you don’t want to buy equipment twice.
Here’s the truth:
Dental photography is no longer optional.
It’s a clinical tool.
It improves:
- Diagnosis
- Treatment planning
- Lab communication
- Insurance documentation
- Case acceptance
- Cosmetic precision
Many cosmetic dentists we’ve worked with say the same thing:
Dental photography didn’t just improve their marketing — it made them better clinicians.
This guide breaks down exactly what camera, macro lens, flash system and continuous lighting you should buy — with budget and premium options — and shows you how to expand into dental videography if you want to film patient stories or FAQs in-house.
Mirrorless vs DSLR for Dental Photography
Major brands like Canon and Sony are investing heavily in mirrorless systems. DSLRs are gradually being phased out.
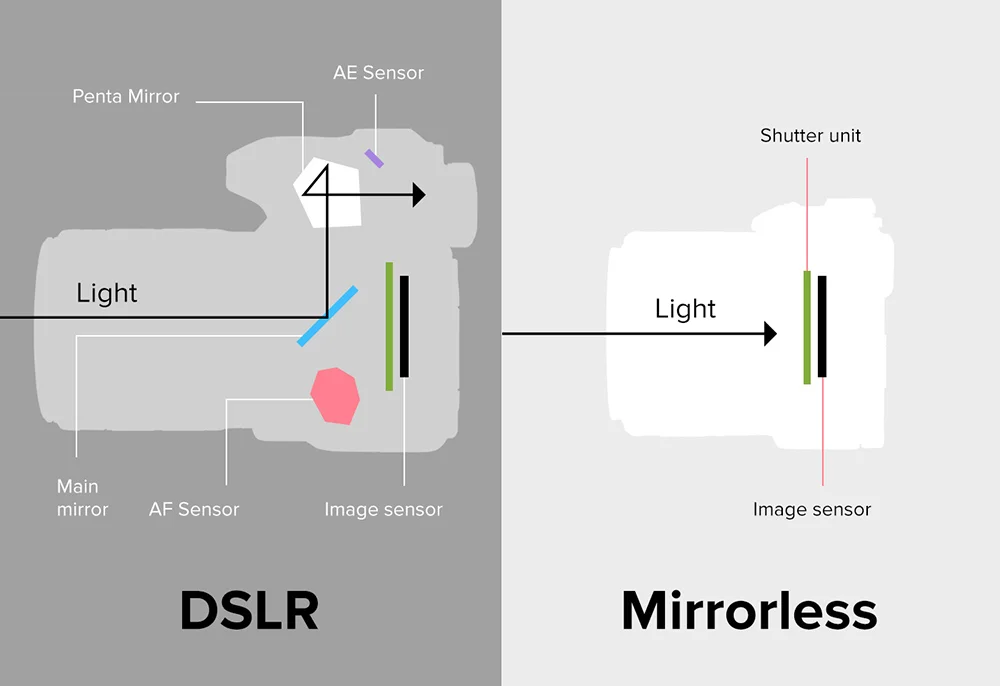
Why Mirrorless Is Better for Dentists
- Lighter (less fatigue during long procedures)
- Live exposure preview
- Better autofocus for teeth and eyes
- Zebra mode to prevent blown highlights
- Focus peaking for sharp intraoral detail
- Strong hybrid performance (photo + video)
If you plan to document cases and potentially film content, mirrorless is the smarter long-term investment.
Best Camera Body for Dental Photography (Budget vs Premium)
Budget Hybrid Option

Pros
- Excellent image quality
- Reliable autofocus
- Strong dynamic range
- Great hybrid option
Cons
- Older interface
- Not latest generation
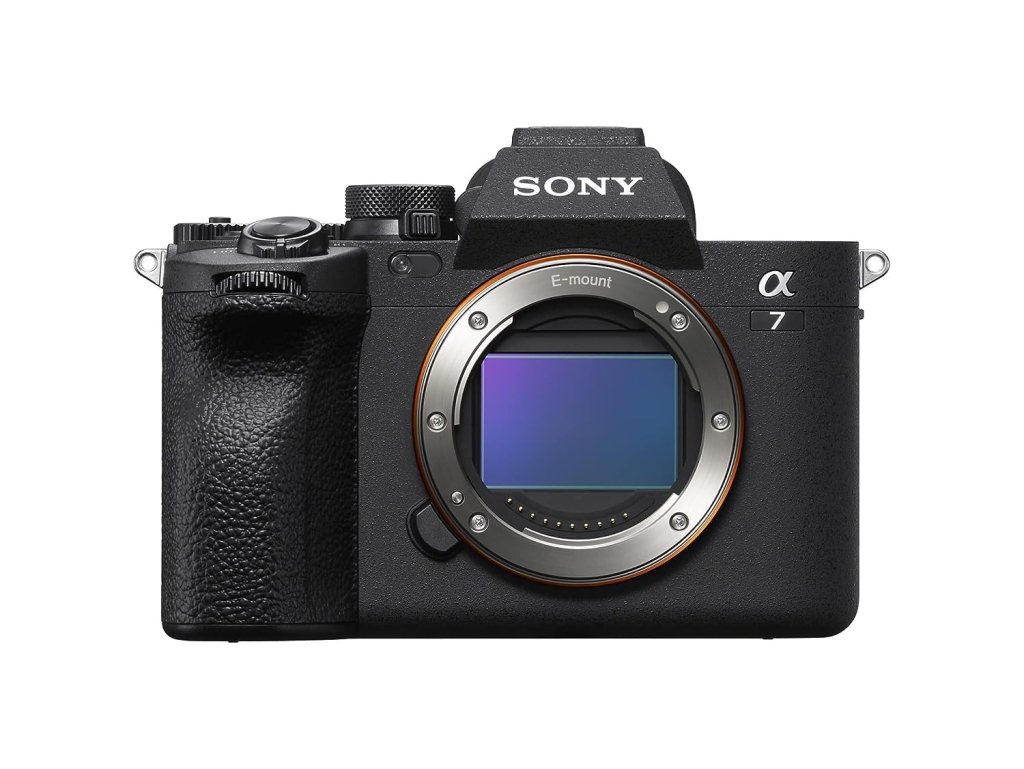
Premium Future-Proof Option
Next-generation autofocus with advanced subject recognition
Excellent high-resolution sensor for detailed intraoral crops
Outstanding 4K video quality
Improved processing power and dynamic range
Ideal hybrid camera for both dental photography and videography
Cons
Higher investment
Advanced features may exceed basic documentation needs
If you’re investing once and want longevity, the Sony a7 V offers the most up-to-date autofocus, image processing and hybrid capability — making it ideal for dentists who want both clinical documentation and high-quality marketing content from the same body.
💡 Many practices benefit from two bodies — one permanently set up for intraoral photography with flash attached, and one ready for video interviews.
Best Macro Lens for Dental Photography
If you upgrade one thing — upgrade your lens.
Ideal Range:
90mm–105mm macro
Recommended Lens
Sony FE 90mm f/2.8 Macro G OSS
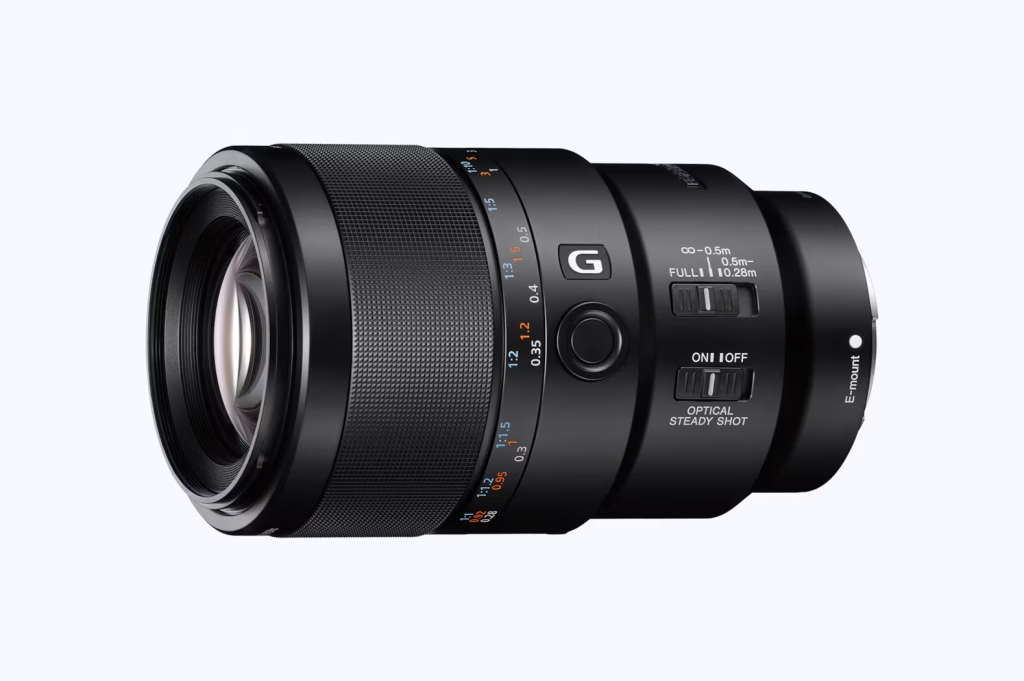
- True 1:1 macro
- Extremely sharp
- Comfortable intraoral working distance
- Excellent for extraoral portraits
For Canon users, the RF 100mm Macro equivalent performs similarly.
In dental photography, your priority order is:
Lens → Flash → Body
Ring Flash vs Twin Flash for Intraoral Photography
This is where most dentists hesitate.
Ring Flash (Best for Intraoral Documentation)
Budget:
Godox MF-R76

Premium Dental System:
FlashKap KL-6
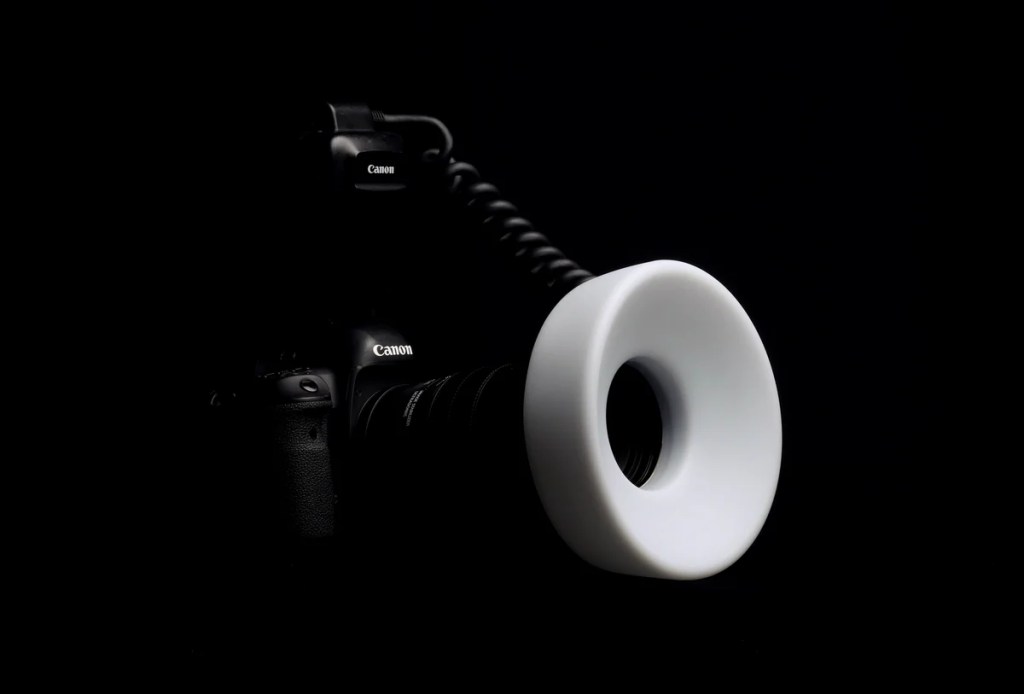
Pros
- Even lighting
- Simple workflow
- Consistent full-arch results
- Ideal for repeatable intraoral documentation
Cons
- Flatter lighting
- Less texture definition
Ring flash is ideal for documentation-heavy practices.
Twin Flash (Best for Cosmetic Dentistry & Texture)
Budget:
Godox MF12-DK1

Premium:
Canon MT-26EX-RT
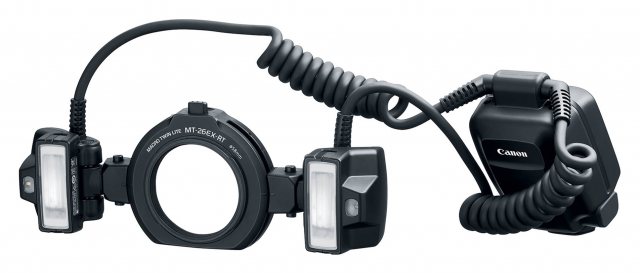
Pros
- Directional lighting
- Highlights enamel texture
- Improved shade matching
- Ideal for veneers and composite cases
Cons
- More learning curve
- Slightly slower workflow
If your focus is aesthetic dentistry, twin flash offers greater control.
Essential Dental Photography Accessories

Non-negotiable items:
- Retractors
- Intraoral mirrors
- Black contrastors
- Grey card (accurate white balance)
- Spare batteries
- Spare memory cards
- Stable tripod
Hot tip: Warm mirrors under warm water before placing intraorally to reduce fogging.
Always have charged batteries ready — especially after long surgical days.
Recommended Camera Settings for Intraoral Photography
- Aperture: f/22 (Canon slightly higher)
- Shutter speed: 1/160s
- ISO: 100–200
- Flash ON
Use:
- Histogram
- Zebra mode (avoid blown highlights)
- Focus peaking
Teeth should retain detail — not appear flat and overexposed.
Extraoral & Portrait Settings for Marketing
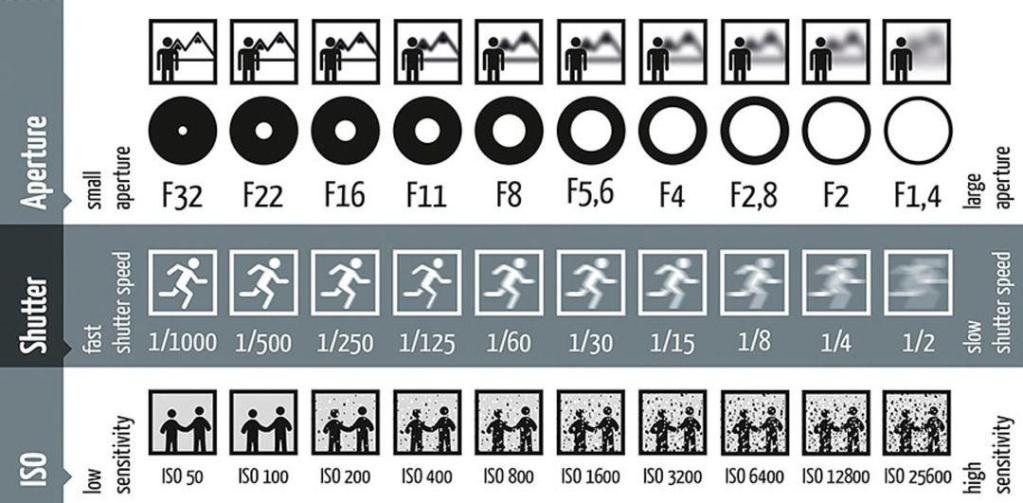
- Aperture: f/4–f/8
- Shutter speed: 1/125s
- ISO: 100–400
Ask patients to smile fully (focus on teeth), then relax to neutral.
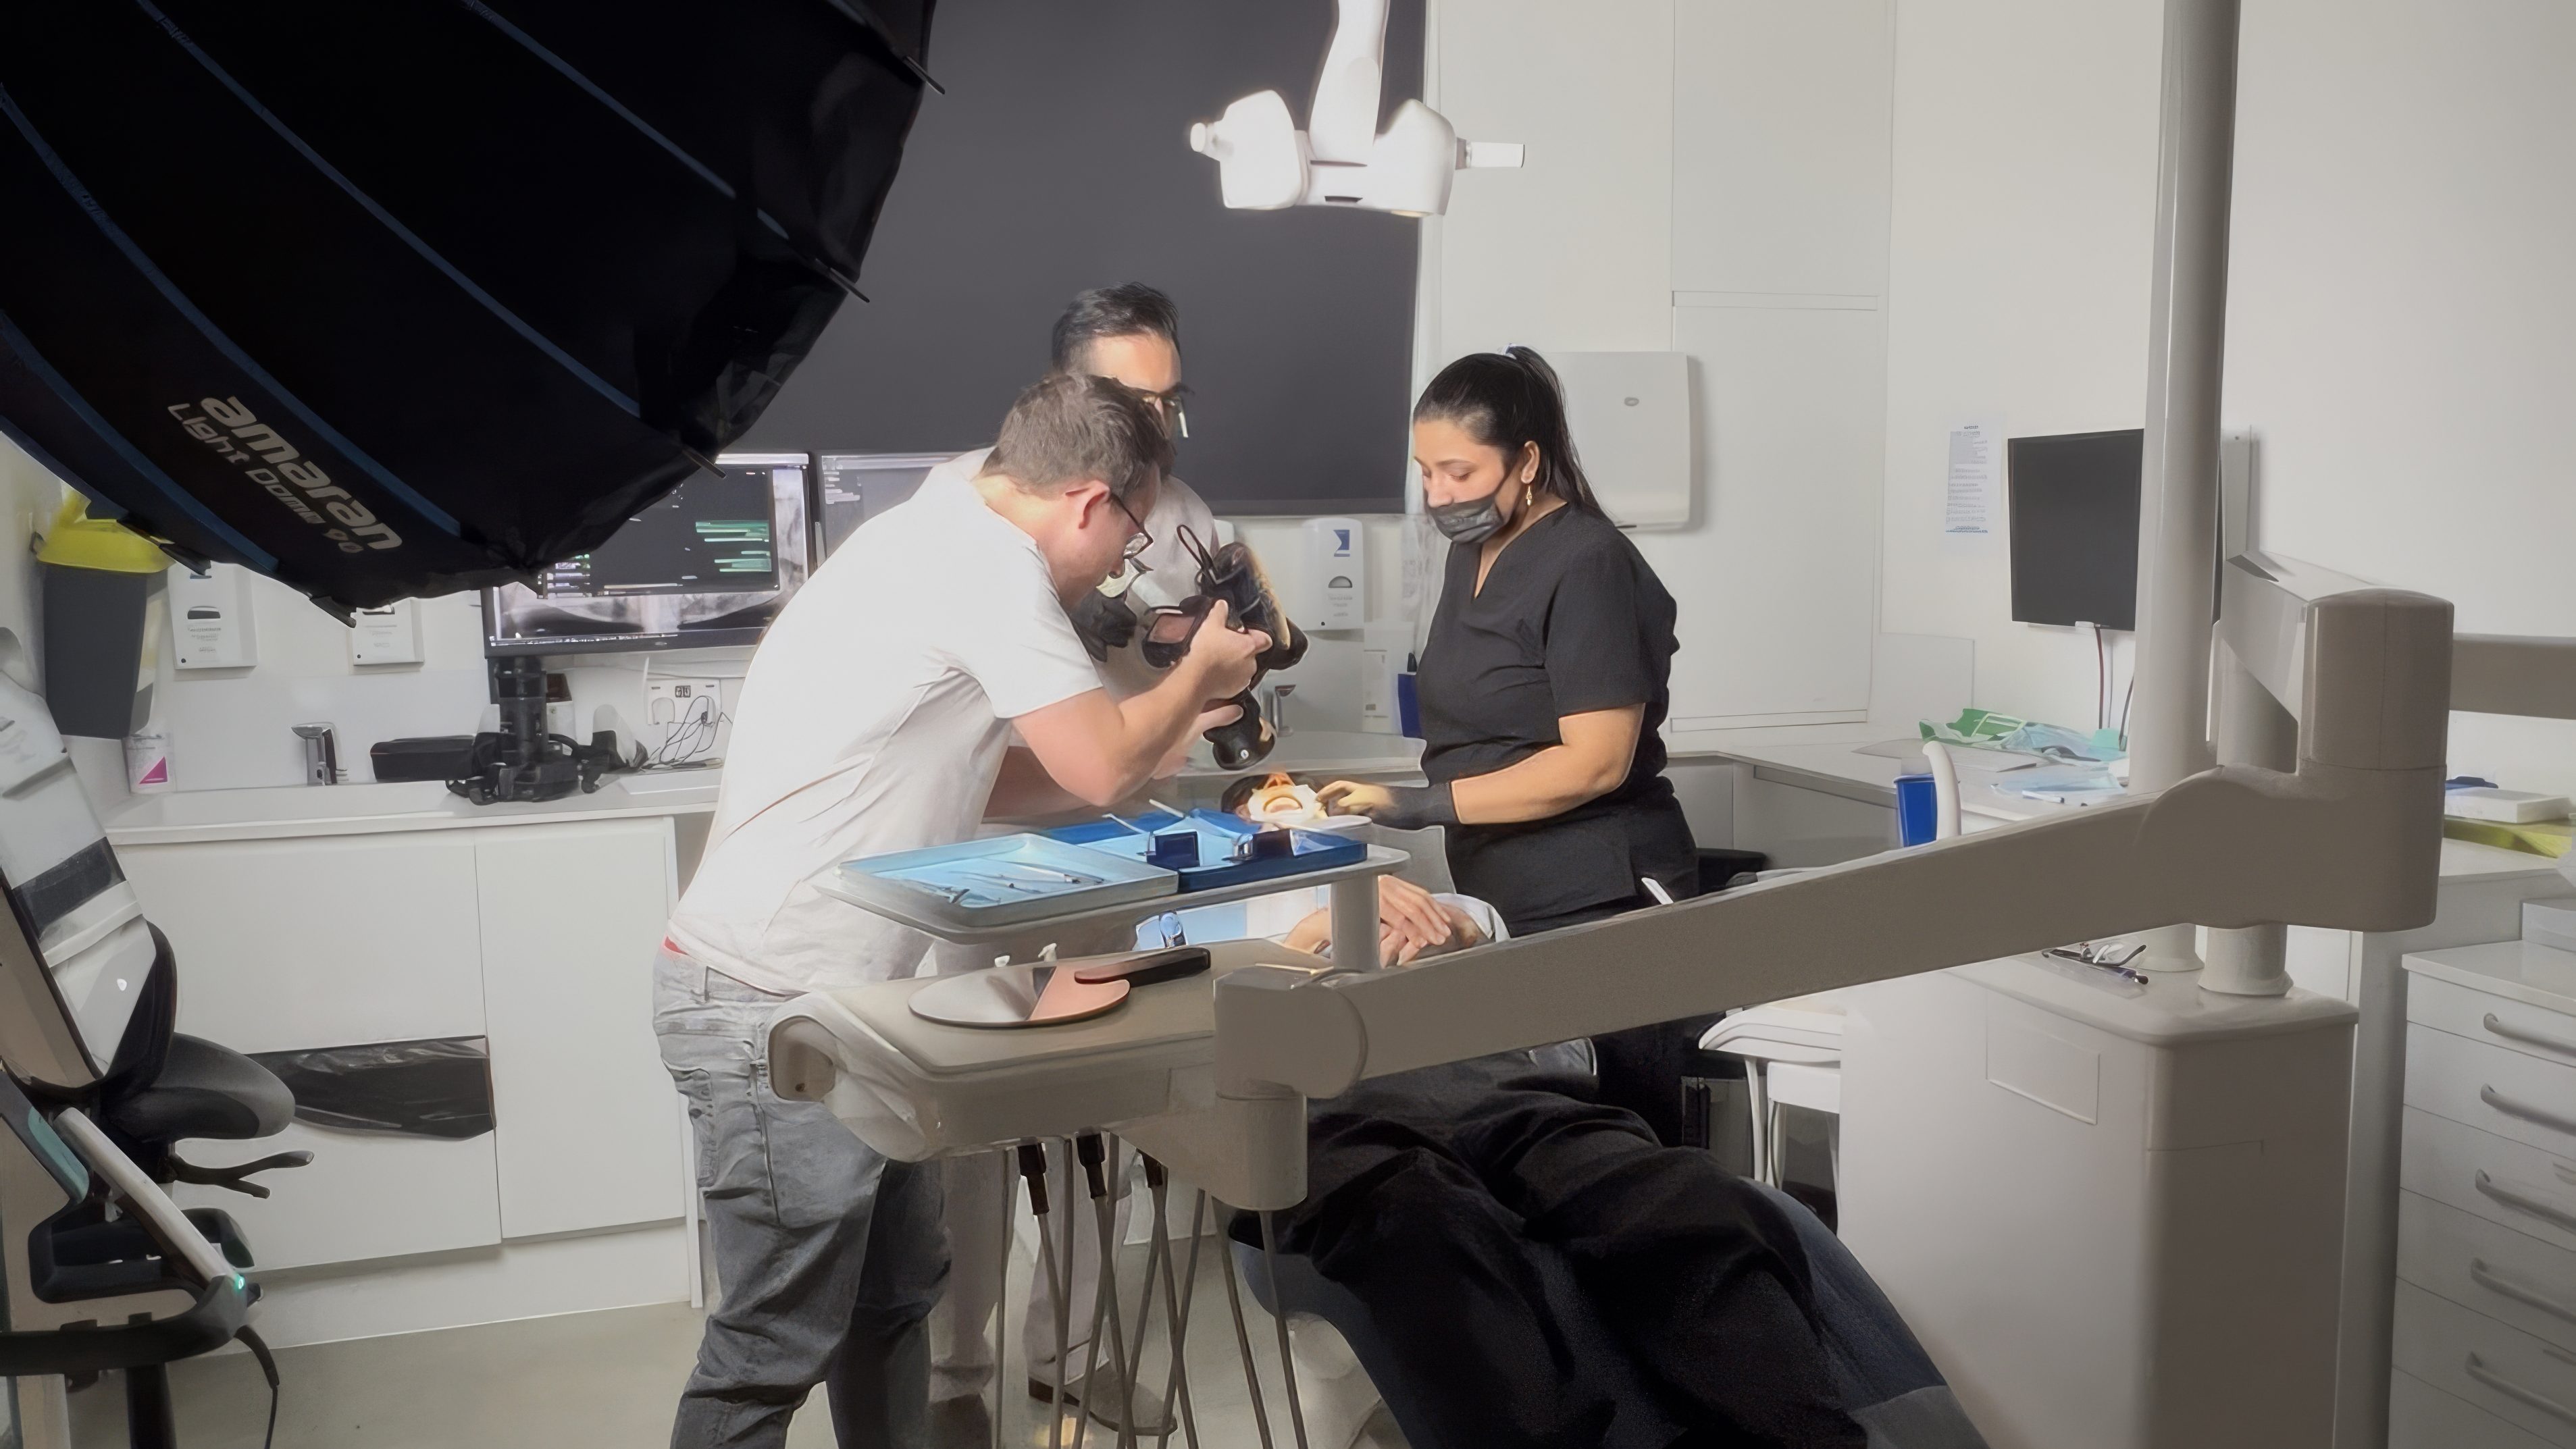
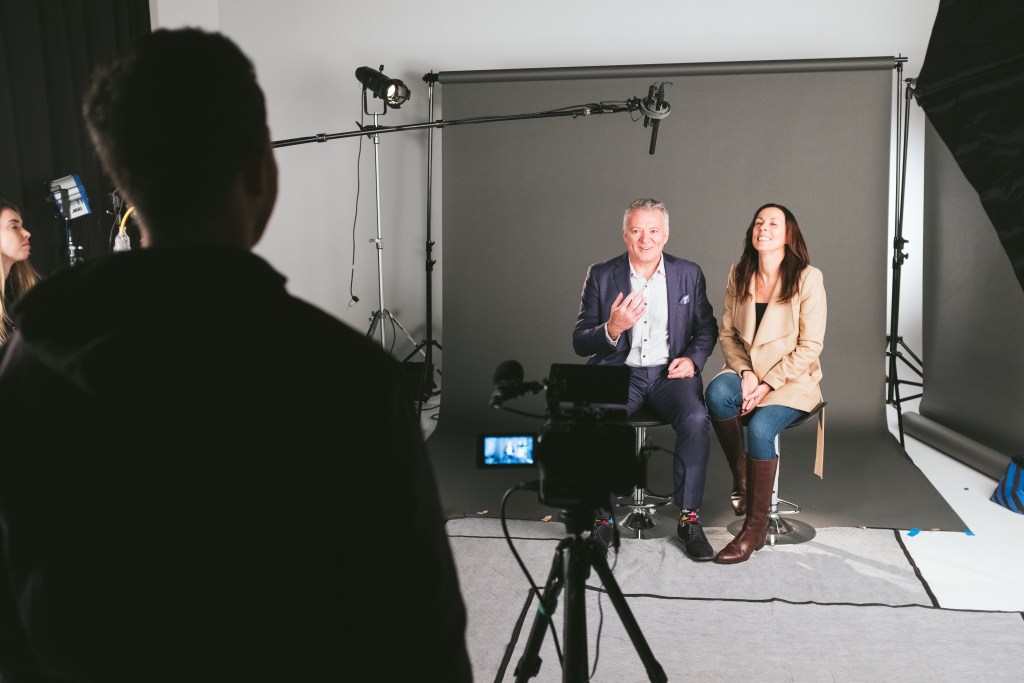
How to Film Patient Testimonials & FAQs In-House
Once photography is consistent, many practices want to start filming:
- Smile journey stories
- Treatment explainers
- Dentist FAQs
- Website header videos
- Social media reels
For video, flash does not work.
You need continuous lighting.
Best Continuous Lighting for Dental Videography
Budget Setup
Key Light:
Amaran 200x S

- 200W output
- Bi-colour (2700–6500K)
- Dimmable
- Ideal entry-level option
Use with a large softbox + grid for soft, diffused lighting.
Premium Setup
Key Light:
Aputure STORM 400x

Fill Light:
Godox KNOWLED AT200Bi

Optional Backlight:
Nanlite PavoTube II 15X

- 3-point lighting = industry standard
- 2–3 lights for bright clinical look
- 1 light for moodier aesthetic
Always use heavy-duty stands and sandbags.
Best Microphone for Dental Video
Audio matters more than resolution.
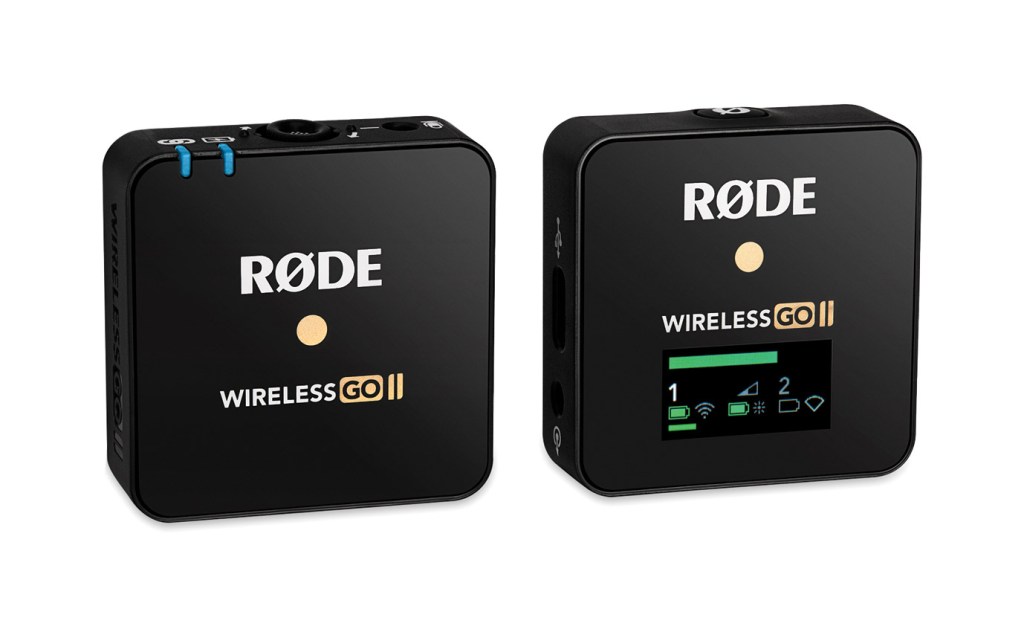
Premium:
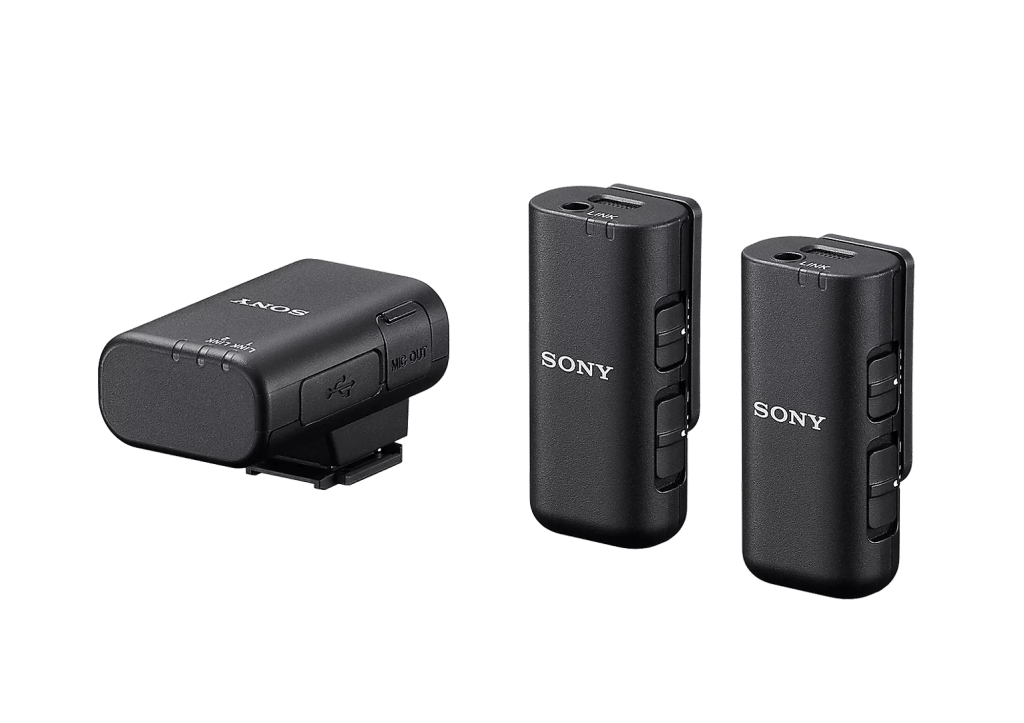
Sony ECM-W3
For videography, your priority order is:
Planning → Audio → Lens → Body → Lighting
Equipment without strategy won’t drive bookings.
Editing Software
Photography:
Video:
Dental Photography vs Dental Videography
Dental photography improves:
- Clinical accuracy
- Cosmetic precision
- Case documentation
Dental videography builds:
- Trust
- Authority
- Patient connection
- Website engagement
- Conversion
Photography documents your work.
Videography communicates your value.
Final Thoughts: Equipment Is Step One — Strategy Is Step Two
Buying the right camera, macro lens, flash and continuous lighting will elevate your documentation immediately.
You’ll:
- See more detail
- Present cases confidently
- Improve cosmetic outcomes
- Strengthen lab communication
But modern dentistry is shifting.
Patients don’t just choose based on before-and-afters anymore.
They choose based on trust.
If this feels manageable and you want to build it in-house — start with photography.
If it feels overwhelming and you’d rather have it taken off your hands strategically and professionally, that’s where we come in.
Before you reach out, we recommend reading our full guide on preparing your practice for filming:
👉 https://230.media/blog/prepare-dental-practice-first-video-shoot/
Because the real upgrade isn’t just better equipment.
It’s better communication.
And the practices that communicate clearly — visually and strategically — are the ones that grow.